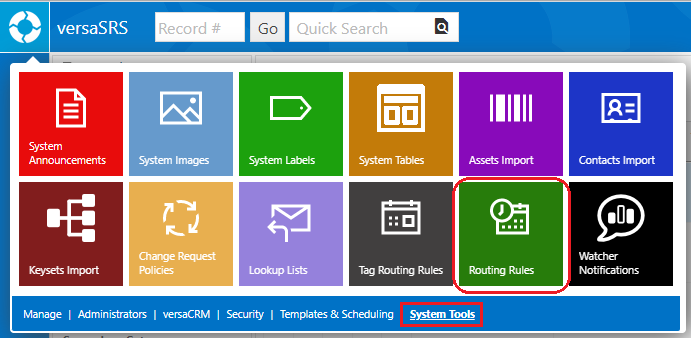
To resolve this a Routing Rule needs to be created. To create a Routing Rule go to versa Spinner - System Tools tab >> Routing Rules.
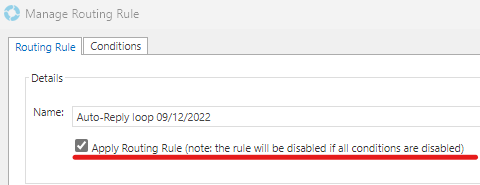
1. Select the New button to create a new Rule, give it a valid name that identifies it's purpose e.g. Auto-Reply loop 09/12/2022 (date the loop occurred), and tick the Apply Routing Rule checkbox.
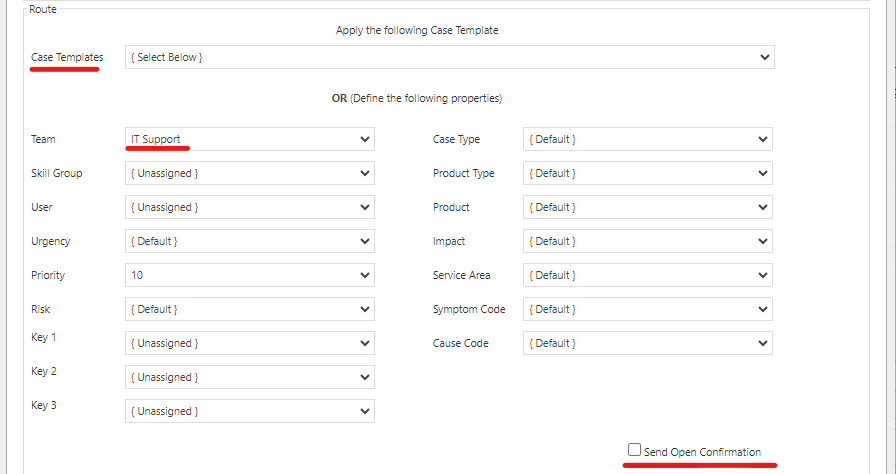
2. Where these Cases go isn't necessarily important, they can be dealt with once the loop has stopped. In the Route section either select a Case Template from the drop-down or set a Team. In this same section, ensure the Send Open Confirmation checkbox is unchecked.
3. Access one of the Cases created by the loop, go to the History tab then the inner tab Correspondence History. Here is where you can get the Subject, From, and To conditions for the Conditions tab of the Routing Rule.
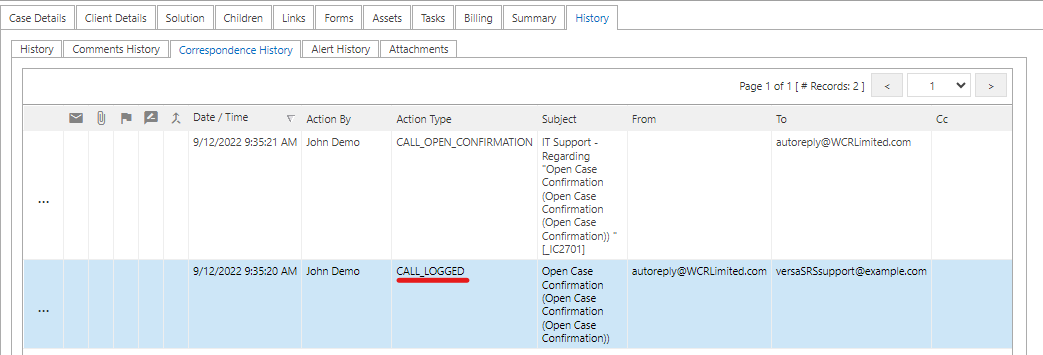
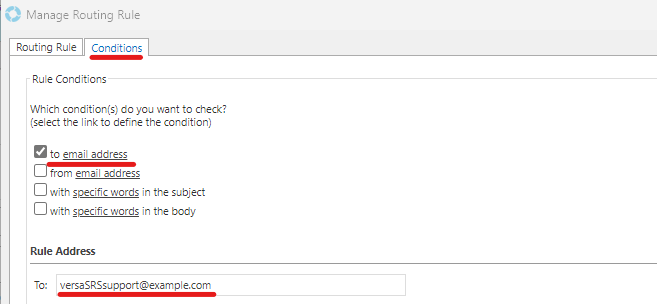
4. Access the Conditions tab and tick the 'to email address' checkbox, then click the underlined text to bring up the Rule Address text box. In the Rule Address field paste the To email address of the original CALL_LOGGED record of the Case.
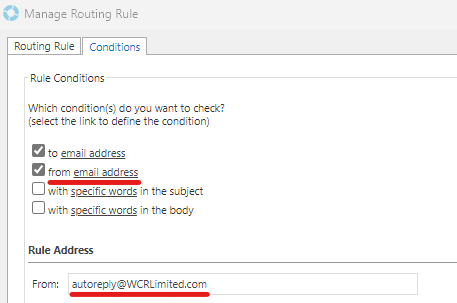
5. Repeat step 4. for the 'from email address' option.
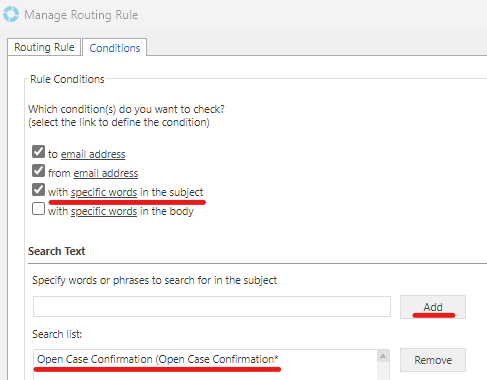
6. For the 'with specific words in the subject' option we need to use a wildcard to ensure all Cases created by this loop are routed correctly. Copy a small portion of the Subject line text and place an asterisk (*) at the end e.g. Open Case Confirmation (Open Case Confirmation*. Click Add to save this condition.
7. Go back to the Routing Rule tab and select Save to save the Rule.
Access the All tab within the Routing Rules window and scroll to the bottom to find the rule you just created.
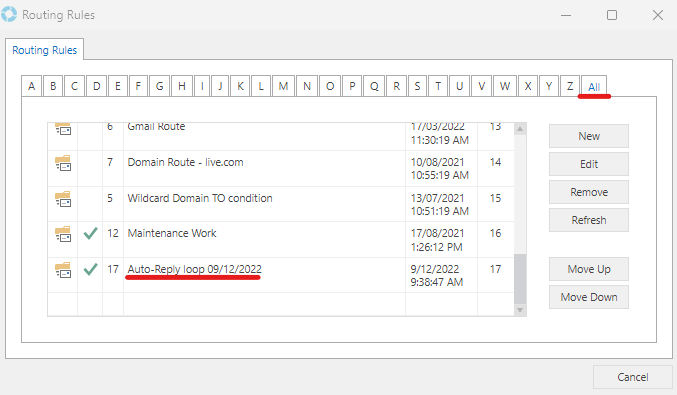
Right-Click the Rule and select 'Move To Top'.
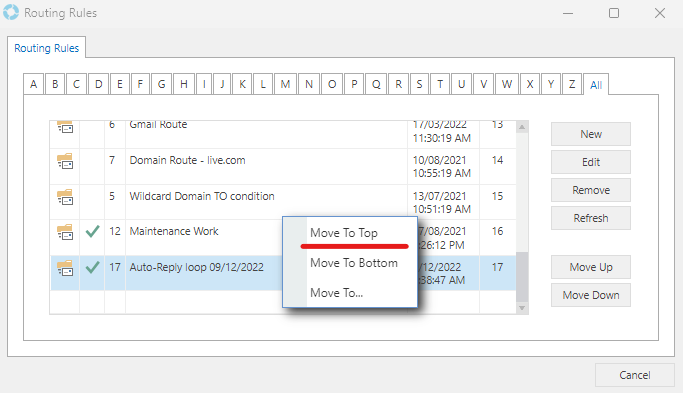
Routing Rules are processed in ascending order, the first rule to appear in the Order list is the first to be compared to the received email data, if another Rule routes the email first the Rule that was just created will never pick it up and the loop will continue.
8. Monitor the incoming Cases for the Team that this Rule will log them with to ensure it has stopped. There may be several emails available in the Inbox so this could create several more Cases before stopping completely. If it has been more than half an hour and these have not stopped the Rule is not picking up these emails you will need to consult our Knowledgebase article Routing Rules - Troubleshooting to determine why it isn't working.