You have several methods available to reorder the Routing Rules depending on your needs:
Method 1: Move Up and Move Down buttons
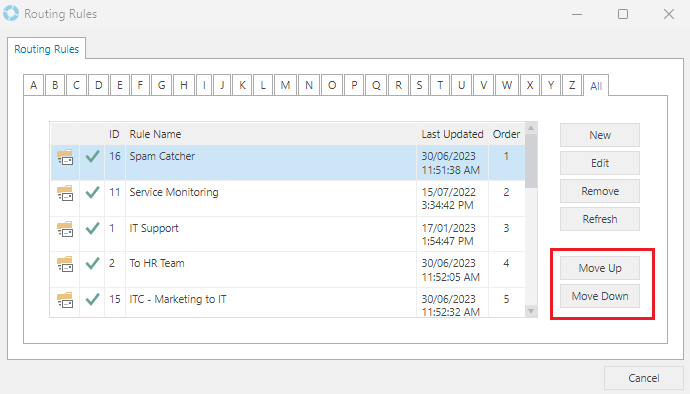
This is best to use when the rule only needs to be moved up or down a couple places in the Order.
1. Select the rule that you want moved by clicking the entry, this will highlight it in blue (as shown in above image).
2. Press either the Move Up or Move Down button (depending on your needs), this will move the rule to the desired position.
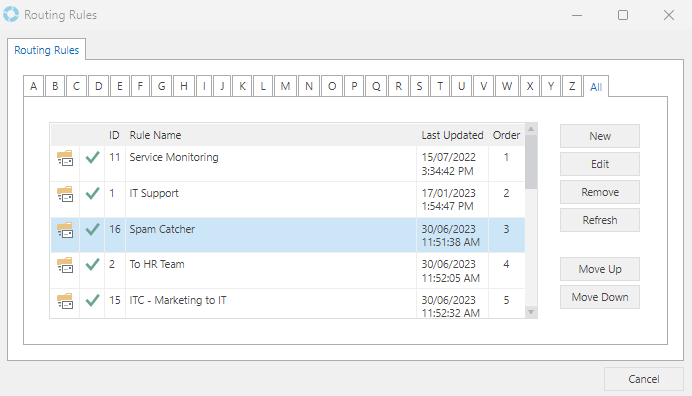
In our example we have moved the "Spam Catcher" rule to the third position in the Order (pictured below) using the Move Down button.
Method 2: Right-Click Menu 'Move To...'
This is best for situations where you've created a rule to log certain Cases to a specific Team, and an existing one is logging them first.
1. Locate the rule that is currently logging the intended Cases in versaSRS. This can be found in either the MailIn log file or on the inner History tab of the Case History tab (pictured).

Within the Case Inner History tab double click the CALL_LOGGED_VIA_ROUTING_RULE audit log entry to open the Action Details window, this shows what rule logged the Case.
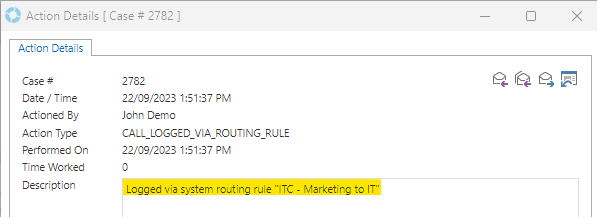
In this scenario the rule "ITC - Marketing to IT" has logged the Case, due to the Subject line of this email a different rule should've logged it, that rule must now be moved above the one that logged the Case to ensure future Cases are logged as expected.
2. In the Routing Rules window locate the rule that logged the Case, as you can see in the pictured example the rule "ITC - Marketing to IT" has an Order of 5, this is the position we will set for the rule that should be logging the Cases.

3. Locate the expected rule for logging these Cases (in this example it is the one named "Route To Accounts") and right-click the entry, select the Move To... option.

In the dialogue box that opens input the Order number to move the rule to, for this example it is 5, then click OK.
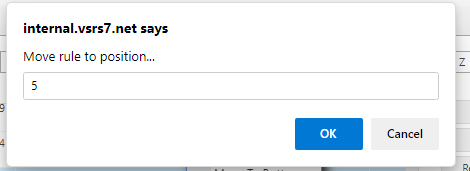
The correct rule will now be ordered above the rule that was unexpectedly logging certain Cases.

Method 3: Right-Click Menu 'Move To Top/Bottom'
This is best to use when a new rule has been created to deal with an email loop and it needs to be the first one in the Order.
1. Any newly created Routing Rules will automatically be added to the bottom of the Order list. In the below pictured example the new rule "Auto-Reply loop 06/09/2023", which has been created to stop an active email loop, has been added in the next available spot in the Order.
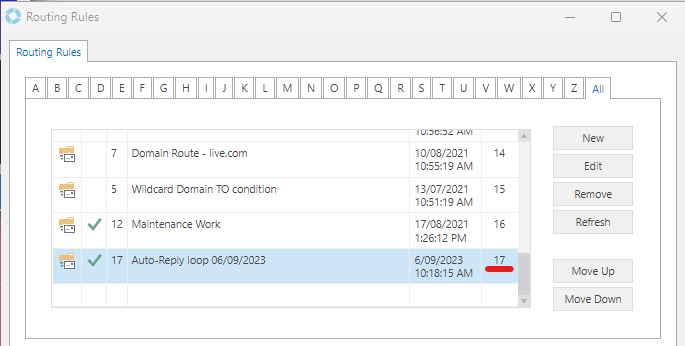
2. This rule needs to be at the top of the list, to quickly achieve that right-click the rule and select the option 'Move To Top'.

The rule is now at the top of the list in Order position 1.

Do the reverse of the above and select 'Move To Bottom' in order to quickly move a rule to the last available Order position.